Modifying stock levels (for e.g. all stock -1)
In this article we will explain how to modify exported stock levels. This is useful when you want to reduce the risks of overselling. For example, if your supplier has 5 items in stock, but you want to export 4. Or if they have 1 item, then you export 0.
Step 1. Create a dynamic attribute
We will use the dynamic attribute which will hold the custom stock values. Navigate to "Dynamic attributes" and click "Add attribute". Lets give this attribute a code custom_qty and select type "number":
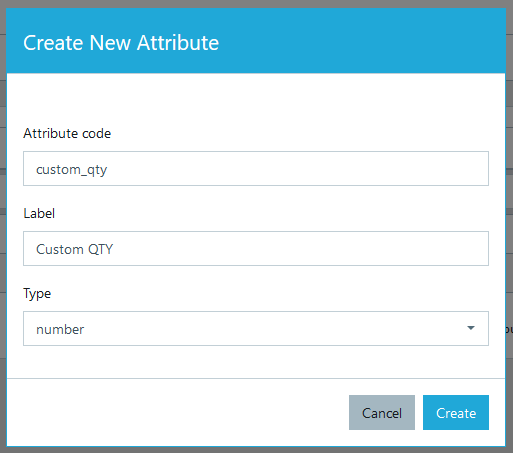
Click create to save this selection.
Step 2. Assign dynamic attribute values
We can now assign values to this dynamic attribute. Click on a green icon "Values list":
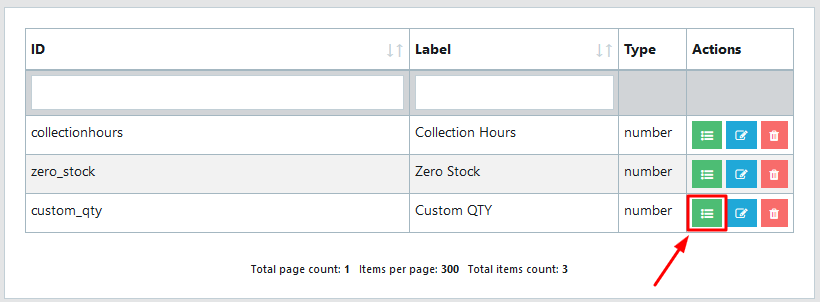
New window will open. Click "Add value" and a pop-up will open. Make selection as in the example below (if product stock is greater or equal to 1, than custom_qty will be reduced by 1):
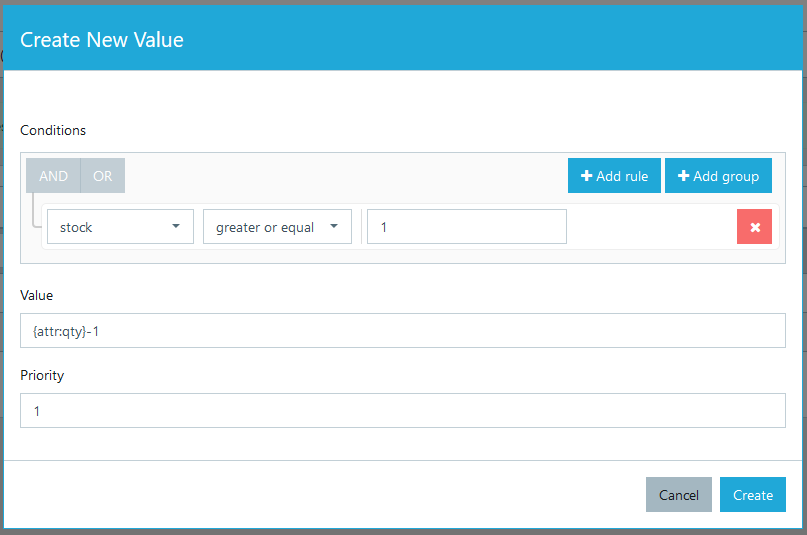
Click "Create" and your new value rule will be saved. Create one more value as a fallback - in case quantity from supplier is less or equal to 1, we will assign 0:
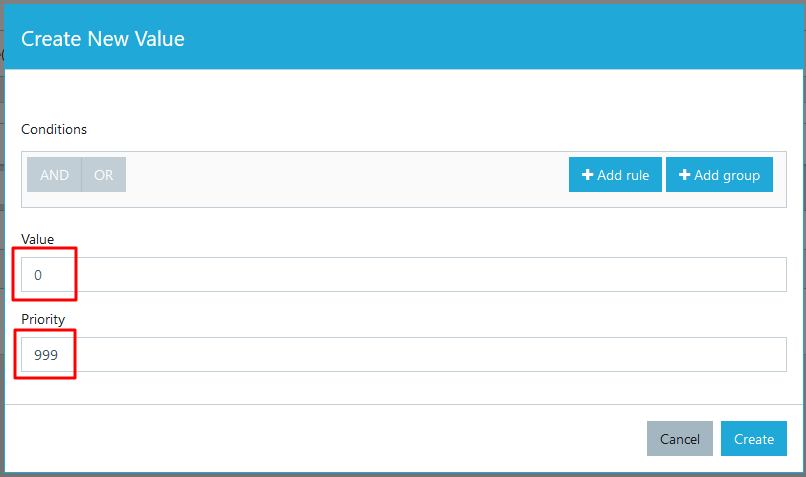
Note the priority field - it has to be higher than the the first value we created. Click "Create" to save this value and your whole values list would look something like this:

That is it - we now have the dynamic attribute with reduced stock levels by 1.
Step 3. Test it (optional)
Before you start exporting this newly created attribute, we recommend to test and make sure it works the way you wanted.
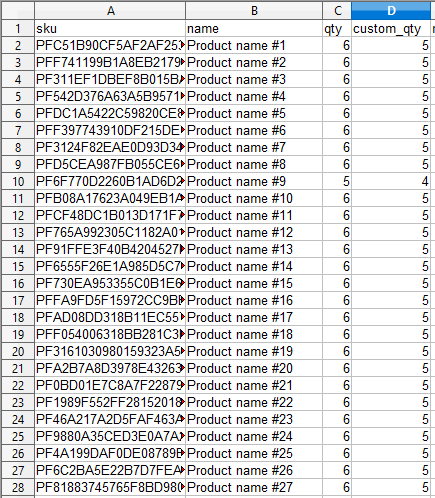
This will allow to see original and modified stock side by side. Save the template and execute it (add it to queue). Once it's status becomes "Completed" - open the generated file in the results tab.
See our example CSV. Columns C and D - custom_qty has smaller value than qty.
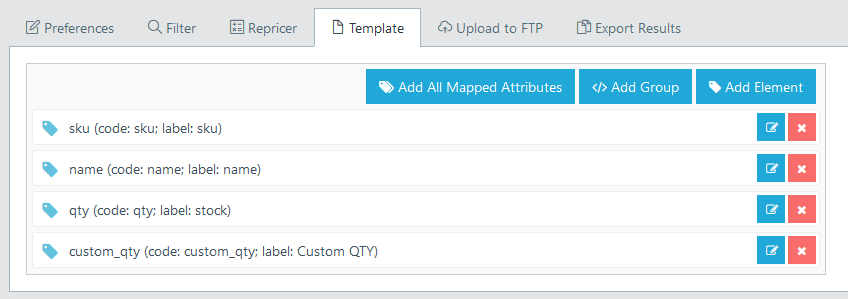
Step 4. Add "Custom QTY" to your export profile template
Open you preferred export profile and add this custom_qty attribute to the template (most often you will want to use this instead of the original qty).
That is it! If you have any questions - do not hesitate to contact us.